Category: Nail care

  • Why You Should Never Peel Off Your Gel

    Why You Should Never Peel Off Your Gel

    We’ve all been there. One corner of your gel lifts, you pick at it during a meeting, and ten minutes later the whole thing is off in one satisfying piece. I get it. But peeling is the fastest way to end up with thin, weak, sore nails, and it’s the main reason clients tell me they “can’t wear gel.”

    Why peeling does so much damage

    Gel bonds to the top layers of your natural nail. When you peel it off, it doesn’t come off cleanly. It takes those layers with it. You might not see it right away, but the nail underneath ends up thinner, rougher and more flexible. The next set has less to grip, lifts sooner, and the cycle repeats.

    It’s the same with forcing off extensions or builder gel. The harder the product, the more nail it tends to take with it.

    How removal works in the studio

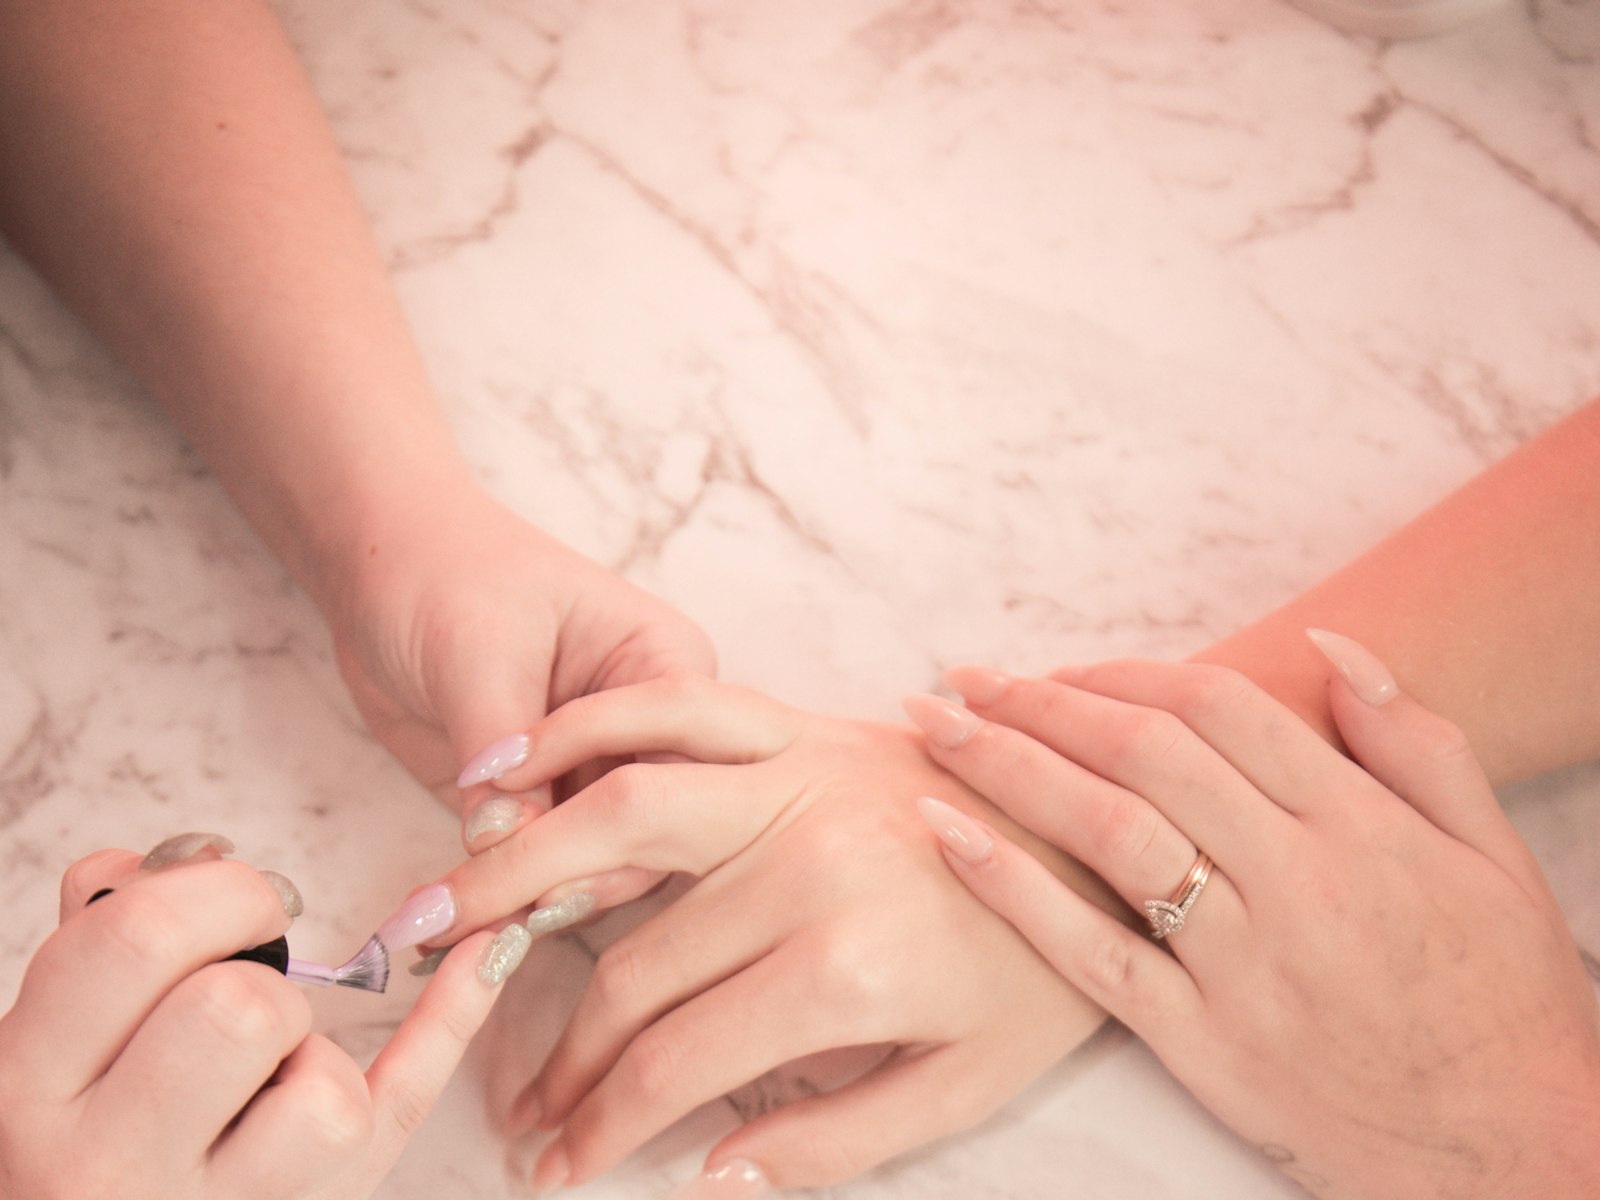
    Proper removal is gentle and doesn’t involve any prying. Here’s what happens when you come in:

    • The top layer of gel is carefully filed down to break the seal.
    • For soak-off gel, nails are wrapped with acetone and left to soften. Builder gel is usually filed down to a thin base instead.
    • Softened product is gently pushed away. If it doesn’t release easily, it soaks a little longer.
    • Nails are lightly buffed, shaped and finished with cuticle oil.

    Most of the time I don’t remove builder gel completely. I file it back and rebuild on top during a fill. That way your natural nail is never exposed to repeated soak-offs.

    If you have to remove gel at home

    Life happens, and sometimes you can’t make it in. If you need to take off regular gel polish yourself:

    • Lightly file the shiny top coat with a nail file until it looks dull.
    • Soak a cotton pad in pure acetone, place it on the nail and wrap it in a small piece of foil.
    • Wait 10 to 15 minutes, then gently slide the softened gel off with an orange stick. Re-wrap any spots that don’t move.
    • Wash your hands and apply cuticle oil and hand cream generously.

    Please don’t try this with builder gel or extensions. They need to be filed by someone who can see where the product ends and your nail begins.

    Lifting? Come in early

    If your set is lifting, it’s tempting to pick. Instead, put a bandage over it, keep it dry, and send me a message. A quick repair is easier on your nails than trying to grow out the damage afterward. Removal of gel or extensions done elsewhere is also on the menu.
  • Gel Polish, Builder Gel or Extensions: Which Should You Book?

    Gel Polish, Builder Gel or Extensions: Which Should You Book?

    One of the questions I hear most often is “What should I book?” Gel polish, builder gel and soft gel extensions all look similar once they’re finished, but they do different jobs. Here’s a simple way to think about each one.

    Gel polish: colour that lasts

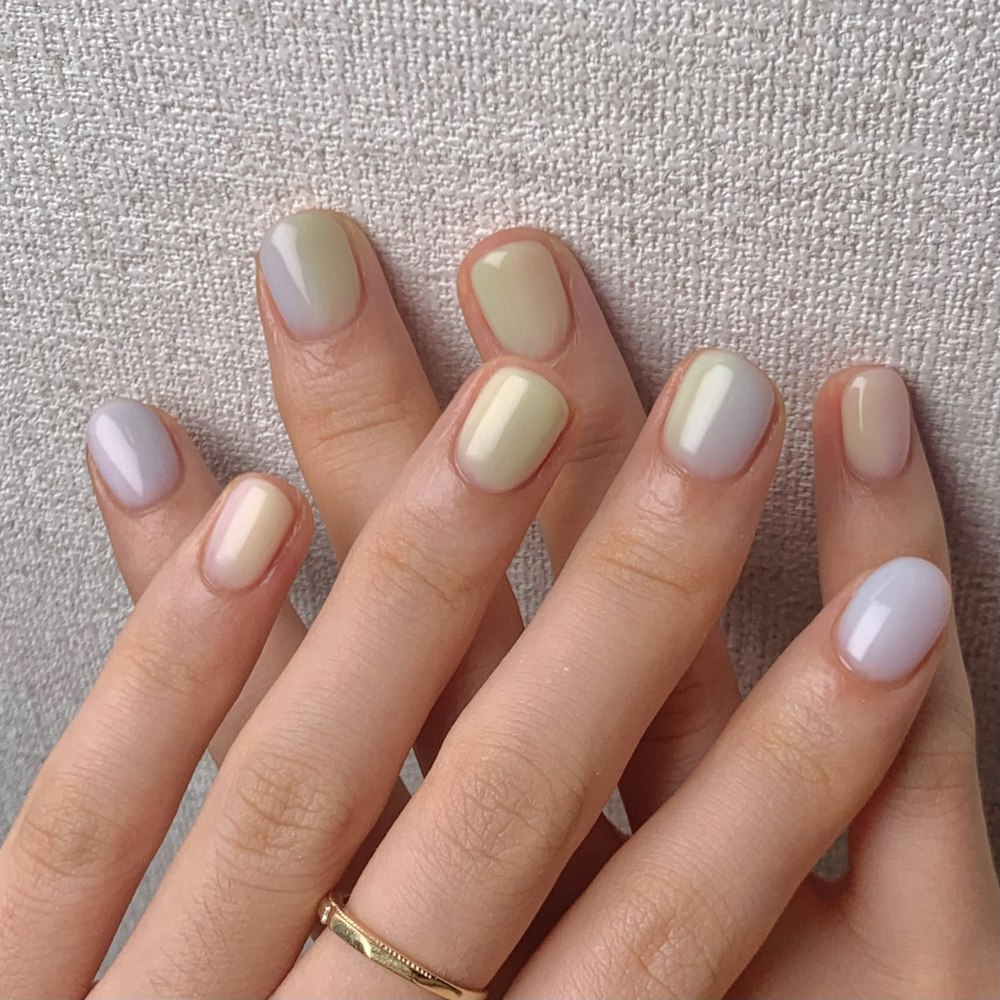
    Gel polish is a thin, flexible colour layer that’s cured under an LED lamp. It looks like regular polish but dries instantly and lasts two to three weeks without chipping.

    Good for you if: your natural nails are already in good shape, you like to keep them short to medium, and you mostly want long-lasting colour.

    Keep in mind: gel polish doesn’t add much strength. If your nails are thin or bendy, it may chip or peel early.

    Builder gel: strength for your natural nails

    Builder gel (you may have seen it called BIAB or structured gel) is a thicker gel that’s applied to your natural nails and shaped to give them a stronger structure. It’s not an extension. It works with your own length, protecting the nail while it grows.

    Good for you if: your nails break or peel before they get long, you want to grow them out, or you’d like a natural look that holds up to work and daily life.

    Keep in mind: builder gel is designed to be filled rather than removed every time. Coming back every three weeks keeps the overlay balanced and means you rarely need a full soak-off.

    Soft gel extensions: instant length

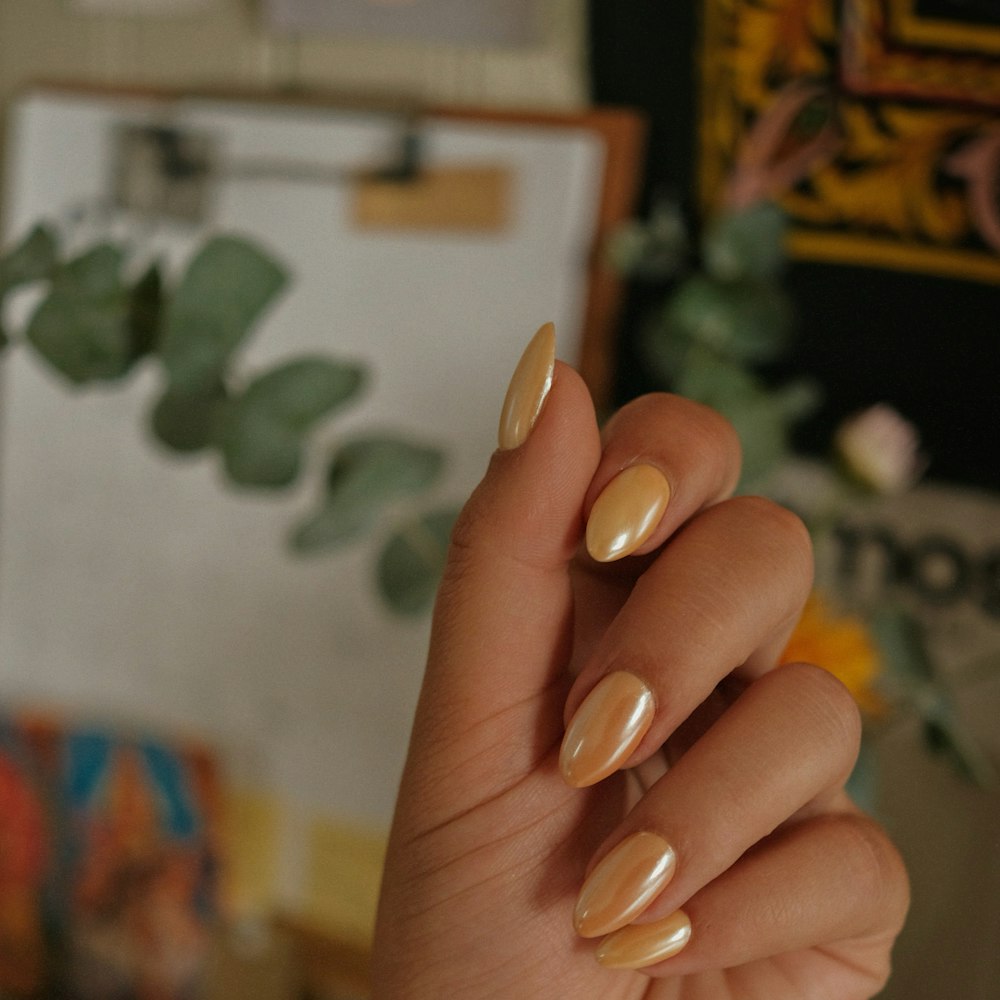
    Soft gel extensions are pre-shaped, full-cover tips made of soft gel. They’re bonded to your natural nail with gel and cured, so you can walk out with length and the exact shape you want: almond, coffin, square or stiletto.

    Good for you if: you want length now, you’re getting ready for a wedding, holiday or event, or your nails don’t grow the way you’d like.

    Keep in mind: extensions need fills every three weeks, and removal should be done properly in the studio so your natural nails stay healthy underneath.

    A quick comparison

    • Want colour on healthy nails? Gel polish
    • Want stronger natural nails that can grow? Builder gel
    • Want length today? Soft gel extensions

    Still not sure?

    That’s completely fine. Send me a photo of your nails and an inspiration picture or two, and I’ll recommend the right service and book the right amount of time. You can see everything on the services page, or get in touch to ask.

  • How to Keep Your Nails Healthy Through a Winnipeg Winter

    How to Keep Your Nails Healthy Through a Winnipeg Winter

    Winnipeg winters are hard on hands. The air outside is cold and dry, the air inside is heated and dry, and you’re washing your hands more often than in summer. Nails and cuticles lose moisture, get brittle and start to peel or split, and that’s often when clients notice their gel lifting or chipping sooner than usual.

    The good news is that a few small habits make a big difference. Here’s what I recommend to my clients from October to April.

    Make cuticle oil a daily habit

    If you only do one thing, do this. A drop of cuticle oil on each nail, massaged into the cuticle and the skin around it, keeps the nail plate flexible and stops the dry, ragged edges that lead to hangnails. Twice a day is ideal: once in the morning and once before bed. Keep a pen-style oil in your bag or car so it’s always within reach.

    Wear gloves, inside and out

    Mittens or gloves aren’t just for comfort when it’s minus 30. Cold wind pulls moisture from your skin in minutes. Indoors, wear rubber gloves for dishes and cleaning. Hot water and cleaning products strip natural oils and are one of the most common causes of lifting.

    Don’t use your nails as tools

    Scraping frost off a windshield, prying open a frozen car door or picking at ice on your boots puts a lot of force on the free edge. Cold nails are also less flexible, so they break more easily. Use a scraper, a key or a coin instead.

    Moisturize after every wash

    Keep a hand cream by every sink you use and put it on right after you dry your hands, while your skin is still slightly damp. A thicker cream or balm at night, under cotton gloves if you’re dedicated, works wonders on cracked knuckles.

    Stay on schedule with your fills

    Builder gel and extensions protect your natural nails, but only while they’re balanced. As your nail grows out, the stress point moves toward the tip and the overlay is more likely to crack or lift. In winter I recommend sticking to a fill every three weeks rather than stretching it out.

    Know when to get it checked

    Lifting, a nail that feels sore, or redness and swelling around the nail are signs to come in sooner rather than later. Please don’t glue down lifted gel at home, since it can trap moisture underneath. If something looks or feels unusual, it’s always worth checking with your doctor or pharmacist.

    Your winter checklist

    • Cuticle oil morning and night
    • Gloves outside, rubber gloves for dishes
    • Hand cream after every wash
    • No scraping, prying or picking
    • Fills every three weeks

    Ready for a fresh set before the deep freeze? Book your appointment and we’ll get your nails winter-ready.